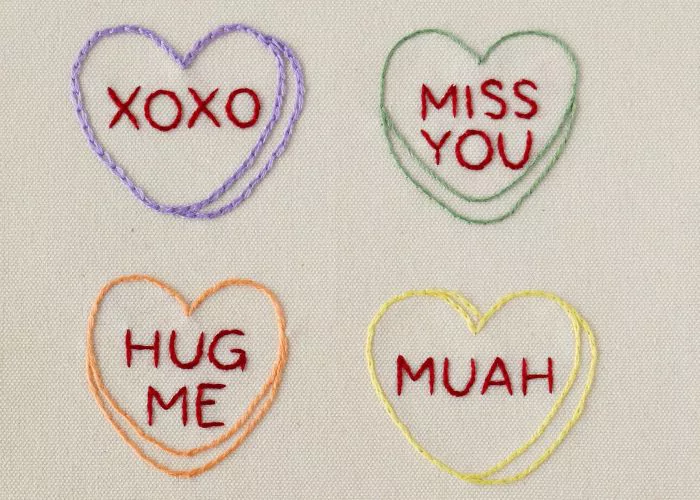
Love Tic Tac Toe Valentine’s Day Card
Hand Embroidery On Paper. Step-By-Step Tutorial And Free Pdf Pattern
Bored of the classic paper cards for Valentine’s Day?
Why don’t you try making an embroidered card for your love note this year? Hand embroidery on paper is simple and fun. I will show you how in this step-by-step tutorial.

how to embroider on paper
Hand embroidery on paper is a fun way to expand your skills and explore a new medium. This technique is great for creating greeting cards, collages, or upgrading vintage photos or postcards.
Tips to make your embroidery on paper fun and easy:
- Choose the proper paper. Opt for medium or heavy-weight paper or card stock. Postcards, watercolor paper, and most types of handmade paper are optimal choices. Avoid printer paper, notebook paper, and similar types of paper products. They bend and tear too quickly.
- Plan the stitches you will use in advance and adjust the pattern accordingly. Avoid stitches that require making many holes close to each other or very complex stitches. You will not be able to bend your material (paper), so some stitches should be avoided.
- Make the holes for the stitches before you start embroidering. Plan the length of the stitches, space the stitches evenly, and pierce the paper in advance. Remember to plan the stitches (make holes) on the angles of the pattern and at the starting and finishing points of the lines.
- When making the holes, place a piece of cardboard or foam board under your paper card. This will save your table and fingers from damage and the paper from bending.
- Choose the correct size of the needle. I prefer to pierce the holes with a bigger needle or pin and use a smaller one for stitching.
- Keep the back side of the embroidery neat and clean. To avoid ugly knots on the back side of the card, use two strands of embroidery floss and secure your first stitch with a folded thread method. You can watch a video tutorial to learn how to start and finish stitching without the knots or read the article “How to start and end embroidery stitches” on this blog.

Love Tic Tac Toe Valentine’s Day Card
Step-by-step hand embroidery on paper tutorial
Tools and Materials
Tools:
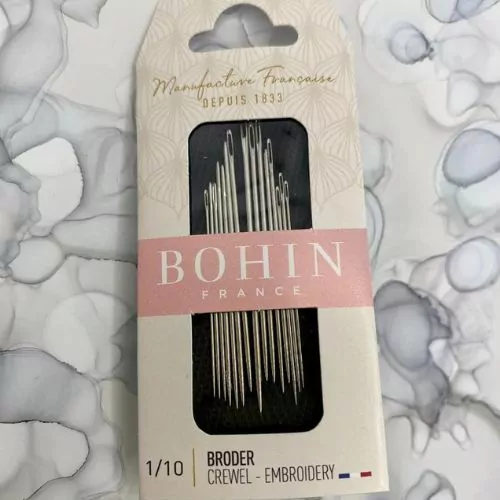
- Hand embroidery needle.
- A pin to poke the holes in the paper.
- Scissors or a snippet to cut the floss.
Materials:
- Blank paper card. You can buy a blank card or make it from sturdy paper. I used a white watercolor paper of 200 gms, cut it into a square shape of 15×15 cm, and folded it in half.
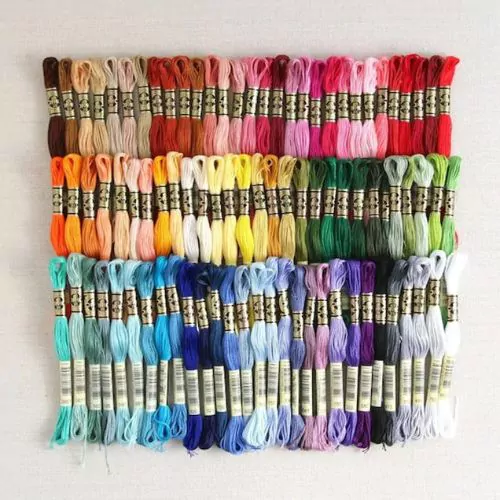
- Hand embroidery floss. I used DMC embroidery floss in Red (#321) and Black (#310) colors. If you prefer pink instead of red, change the colors.
- A piece of cardboard or foam board to help you poke the holes in the paper card.
Instructions
- Download and print the pattern of the Love Tic Tac Toe card and gather all the materials you will need.

2. Cut out the Tic Tac Toe pattern and center it above the blank card. Place a piece of cardboard or a foamboard to protect your working table and add some softness. Also, it will be easier to poke holes with cardboard.
Use four pins to pin the pattern over the card.

3. To transfer a pattern to paper – poke the holes along the design. Start with the angles and crossing points. Then, add some holes between these. Each spot you prompt on a paper card will mark a stitch, so make the distance between the holes equal. You can make the stitches smaller on the curved parts of the hearts and bigger on the straight lines. Just keep them similar on each element.

4. Use folded thread method to secure the starting stitch and avoid the knots on the back side of the card.

5. First, embroider the grid lines, X signs, and letters with two strands of black embroidery floss (DMC #310). Pass the needle through each hole you poked with a pin, embroider with Backstitch.

6. Now embroider the hearts. Use two strands of red embroidery floss (DMC #321). Embroider with Backstitch.
To keep the back side of the card neat, start with a folded thread method and anchor the end of the thread under the previous stitches.

7. Add a personal note inside, and send it!

Video Tutorial
Recommended Products
Disclaimer. To cover the cost of creating free embroidery patterns and video tutorials for this blog, I do sometimes link to products. Please assume these links are affiliate links. If you choose to buy through my links then THANK YOU! – it will make it possible for me to keep doing this.


Don’t miss a thing!
Follow me on YouTube, Instagram, Facebook, and Pinterest. Or why not subscribe to Practical Embroidery newsletter and get embroidery tips straight to your inbox every few weeks?